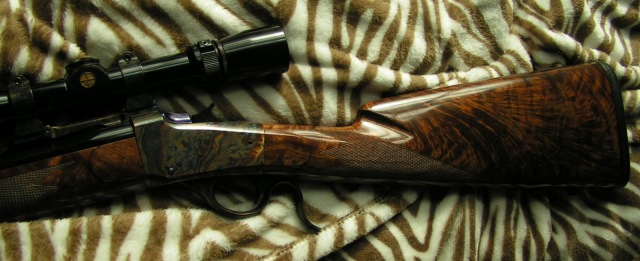
While checkering the stock of a custom built low wall rifle I decided to take the opportunity to document the process and share it here.
The first step of checkering any stock is laying out the pattern. Be it a replication of an original pattern or a custom creation for a one of a kind stock, the step is crucial. When replicating original patterns, paper templates made from rubbings of original patterns can be a helpful guide for laying out. However, every single stock is different and no two patterns are identical. A wax pencil and flexible rulers are used to lay out the design.
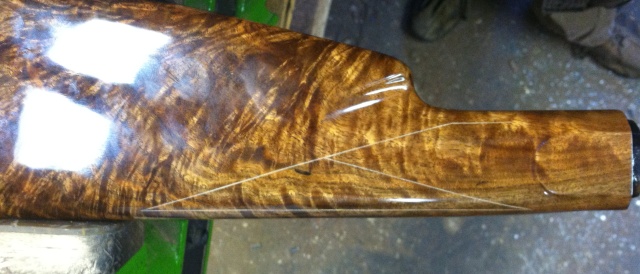
After the design is layed out, the master lines and a few border lines can be cut into the stock. The above photo shows the master and border lines for this low wall stock. The upper and lower border lines are parellell to each other. The rear border serves as a master line, while the other master line is the border of the lower leading point which carries towards the back of the pattern. It is critical the the master lines be straight since all of the pattern follows these first two lines. Note that the front of the pattern is left open with no cut lines.
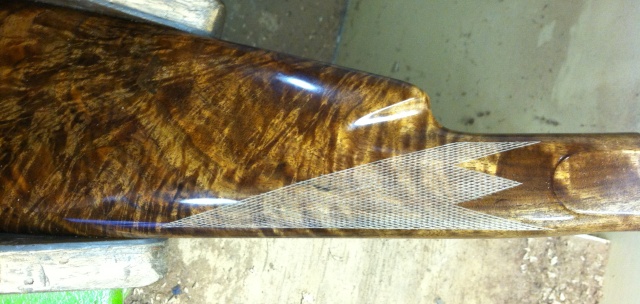
Next, spacing of the lines can begin. For this pattern, I am using a 24 line per inch cutter. The tool follows the previously cut line while also cutting the next one. All the spaced lines follow the two master lines. Refering back to the previous section where I mentioned how the front of the pattern was left open; you can see in the photo above how the front of the pattern is now closed in as the upper leading point was defined by the cut lines that spaced off the rear master line. One of the most important things in working a checkeirng pattern is to learn when to box yourself in and when not to. The front of the pattern is being allowed to take form on its own.
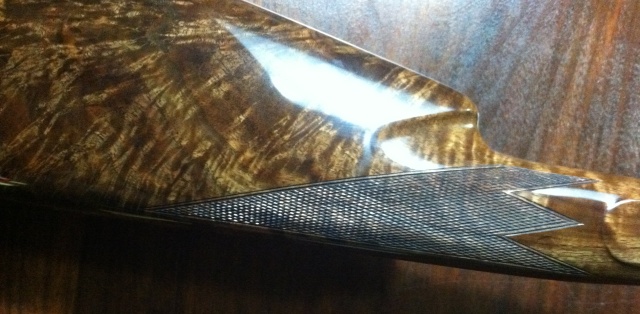
I wanted there to be a center point at the front of the pattern, so as I complete the spacing of the lines that point is added. The above photo shows the pattern fully spaced out. The next step is to deepen all of the lines in order to point up the diamonds.
The above photo shows the pattern fully cut and pointed. It takes about 3 to 4 passes over each line in the pattern to bring the individual diamonds to the full point. First they are deepened with a 60 degree cutting tool and final pointing up is done with a 90 degree cutting tool. Some factory checkering on low grade guns are not fully pointed. For this pattern I put a single bead border on just the front and rear of the pattern. The upper and lower parellell edges are left borderless.
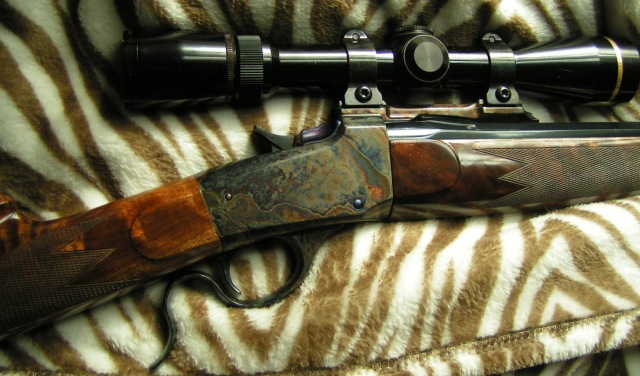
Finally, a coat of penetrating sealer is brushed onto the finished checkering as to darken it and protect it. The grain of the wood shows through the checkering and the finished result is a very attractive final touch to a custom stock. Below are photos of the assembled rifle.
