As with any restoration; be it art, cars, furnature or guns. Attention to details are very important and can make or break the outcome. A very important feature on all Parker Brothers shotguns is a border which surrounds the checkering pattern. It is called a “mullered” border and it is unique to Parker guns when compared to other American manufacturers. It is sometimes also seen on European guns. This type of border is a dished (concave) cut as opposed to the typical bead (convex) or single line border that is seen on all other American manufactured guns. For the sake of trying to represent a cross section of this border, it would kind of look like the following text: /U\
This type of border is found on all grades of Parker guns and the only variation between grades can be some differences in the width of the border. Cutting of these borders today can be accomplished by using a combination of commercially available tools. Or one custom made tool could be fashioned if need be.
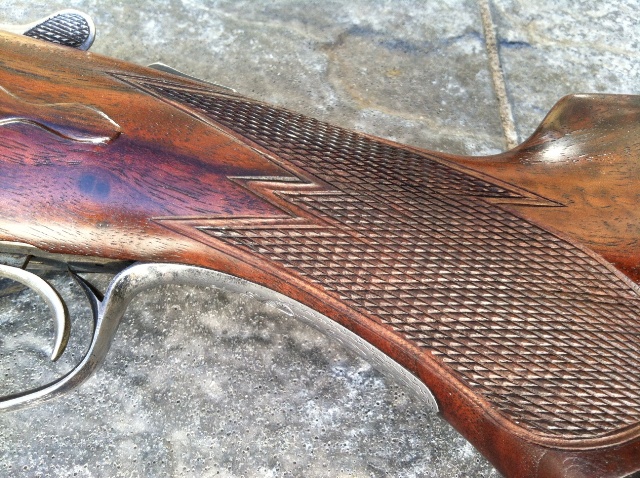
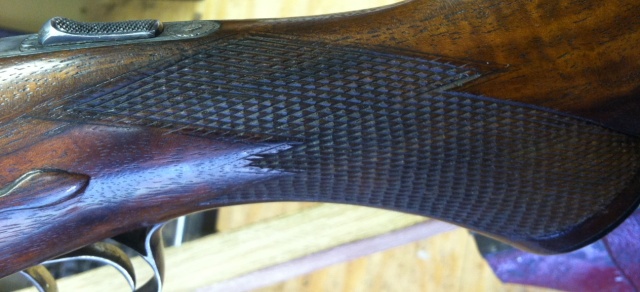
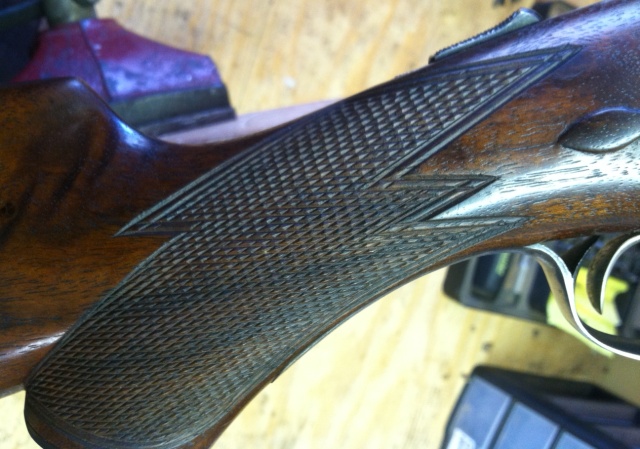
Below are photos of a DH grade Parker that had previously had its checkering recut. The one side lacked any border and had a lot of over-runs. The other side had a very deep single line border. The spacing of the checkering was also too large for the grade of the gun and it was fully pointed which is also not correct. The spacing of the lines cannot be corrected, but all other issues can.
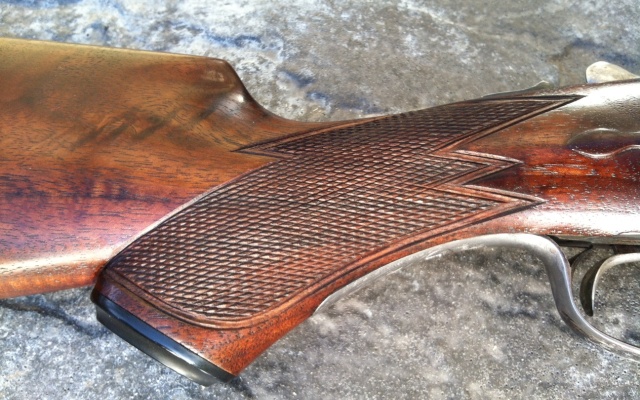
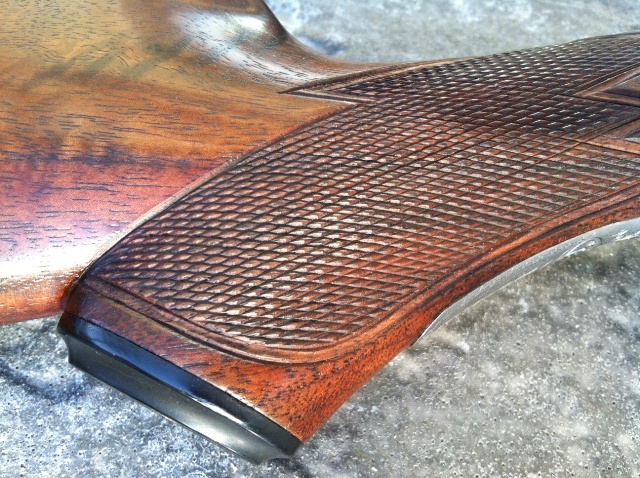
Below are photos of the checkering after correction of these issues. A proper Mullered border was able to be added to the side that lacked a border. This also covered up the over-runs. The incorrect border on the other side was able to be converted to a proper mullered border. The point pattern was cleaned up in areas that needed attention and the sharp points were burnished down to make them more correct in appearance. The end result is a checkering pattern that is much more correct for a Parker gun.